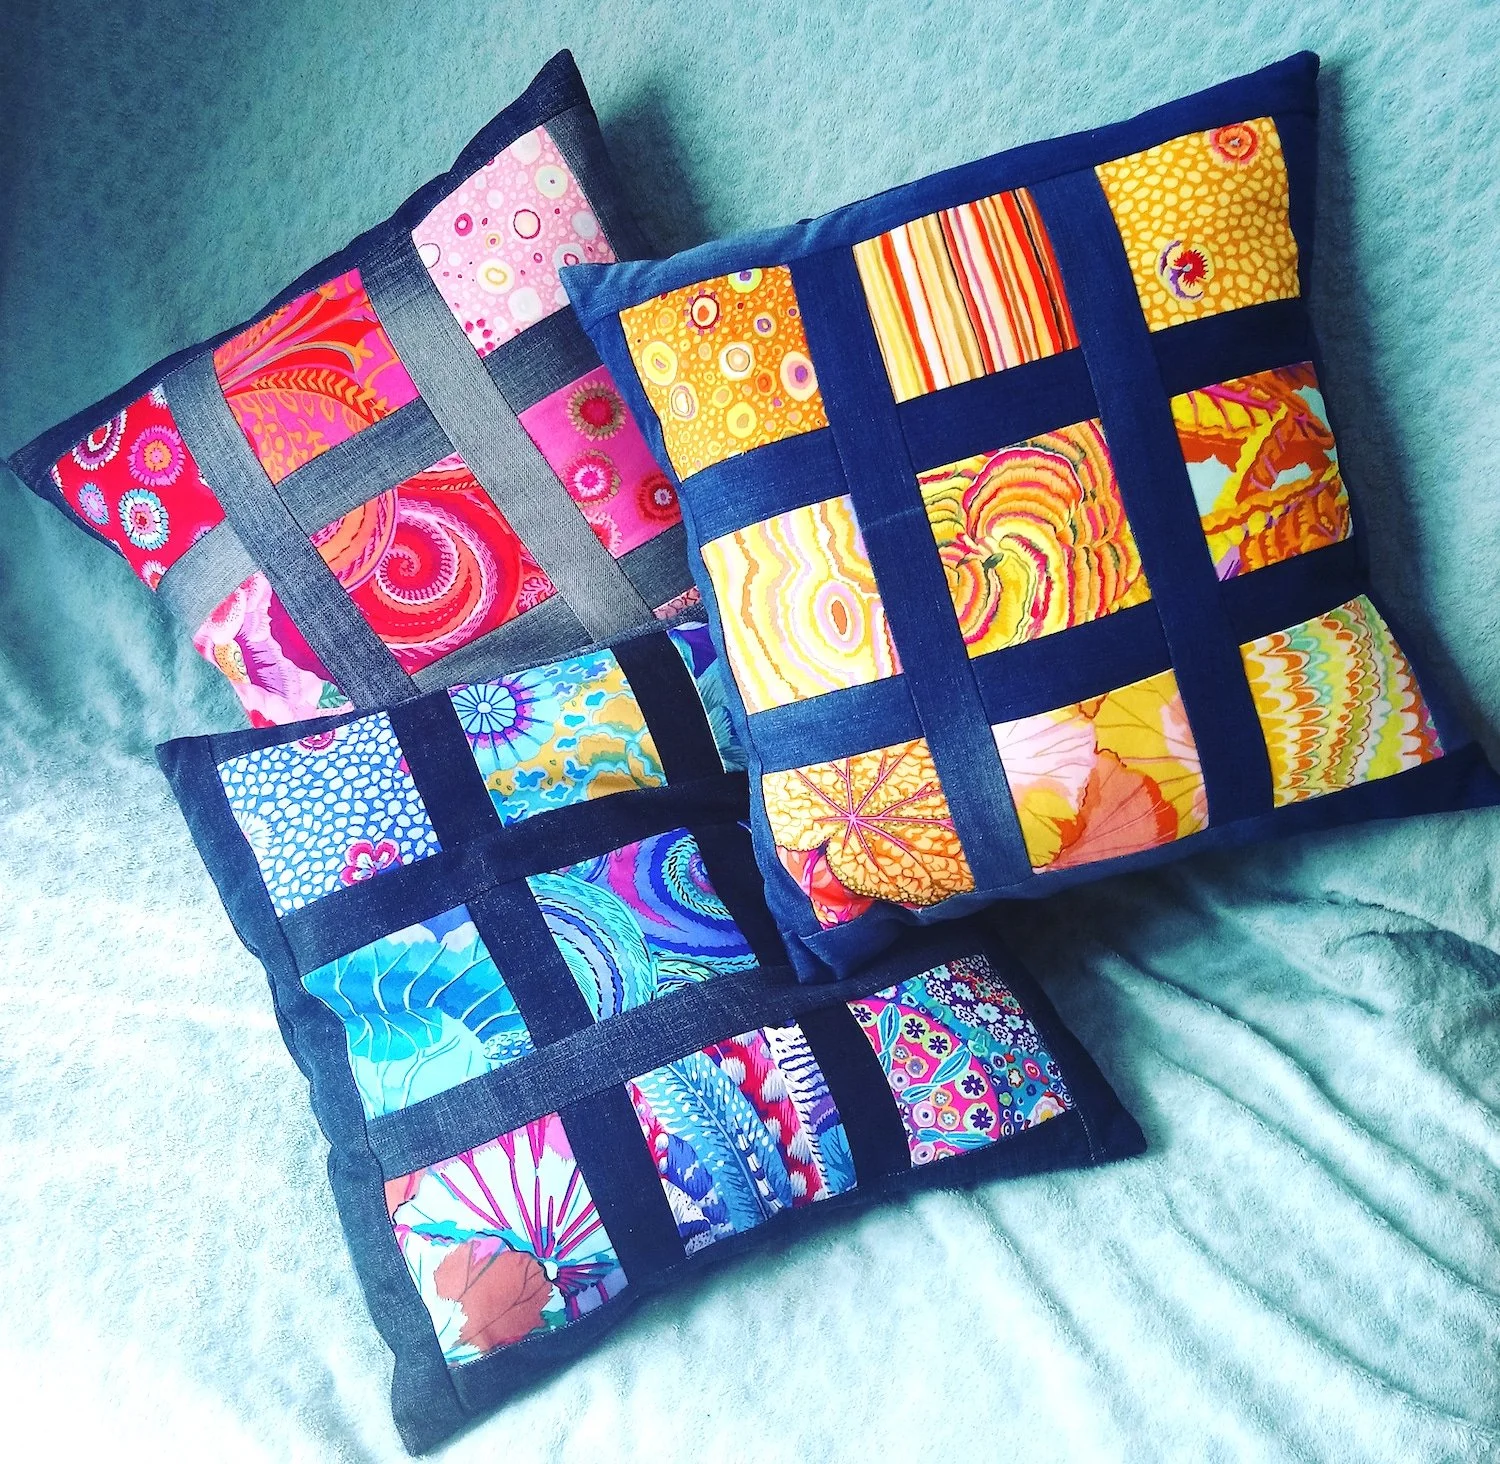
Which colourway would you make?

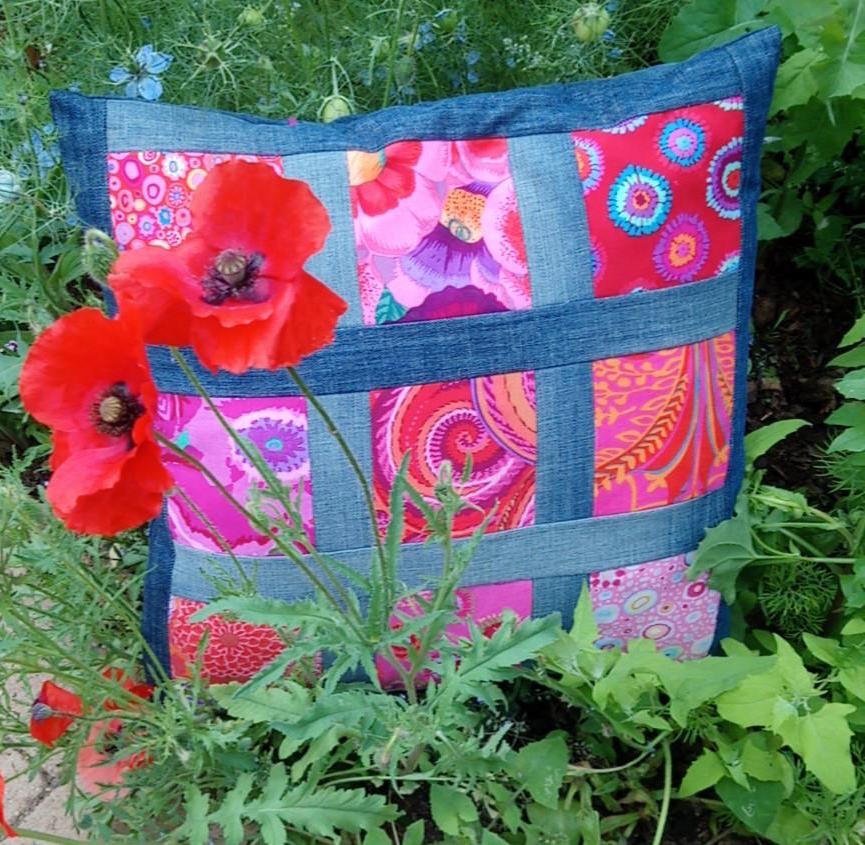
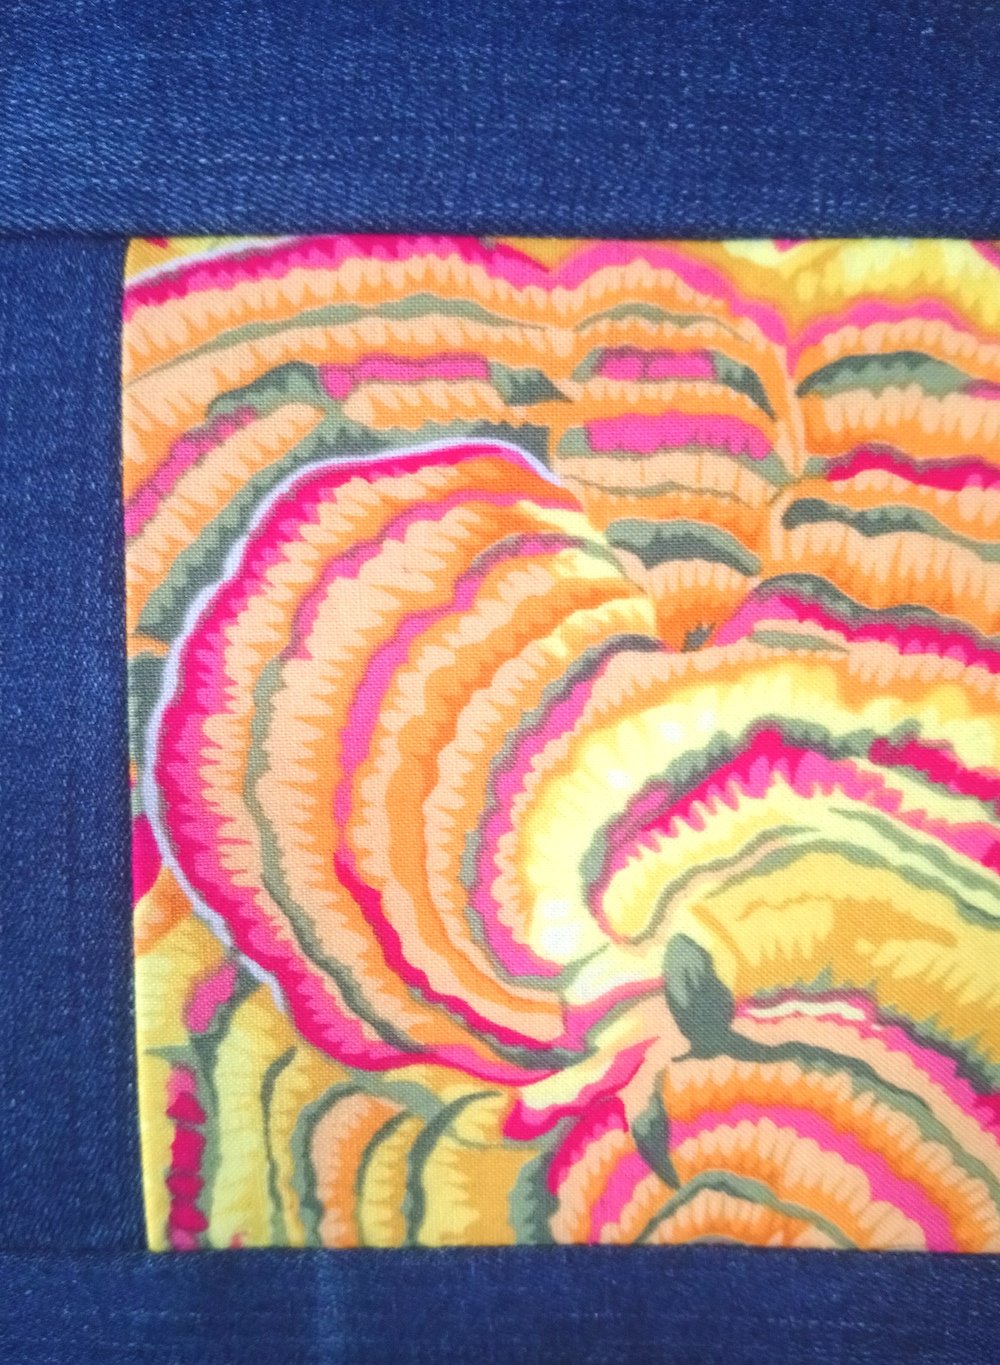
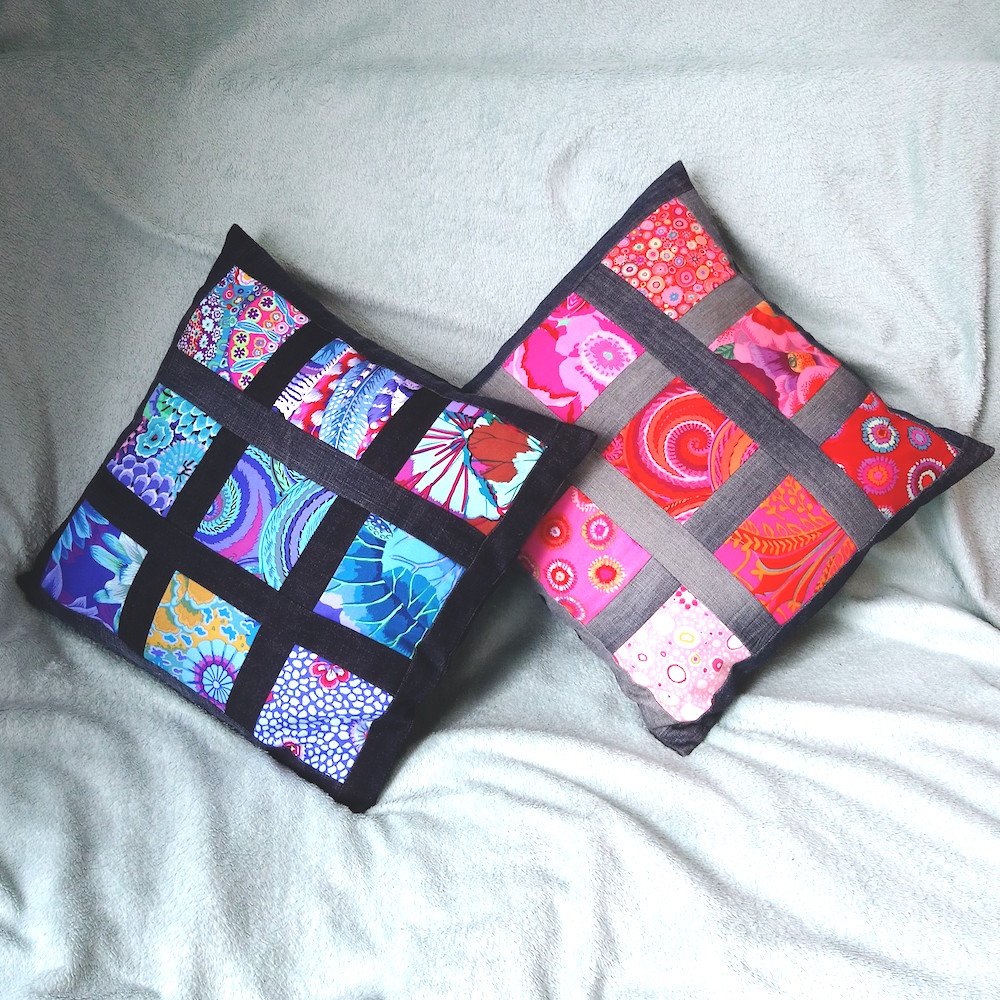
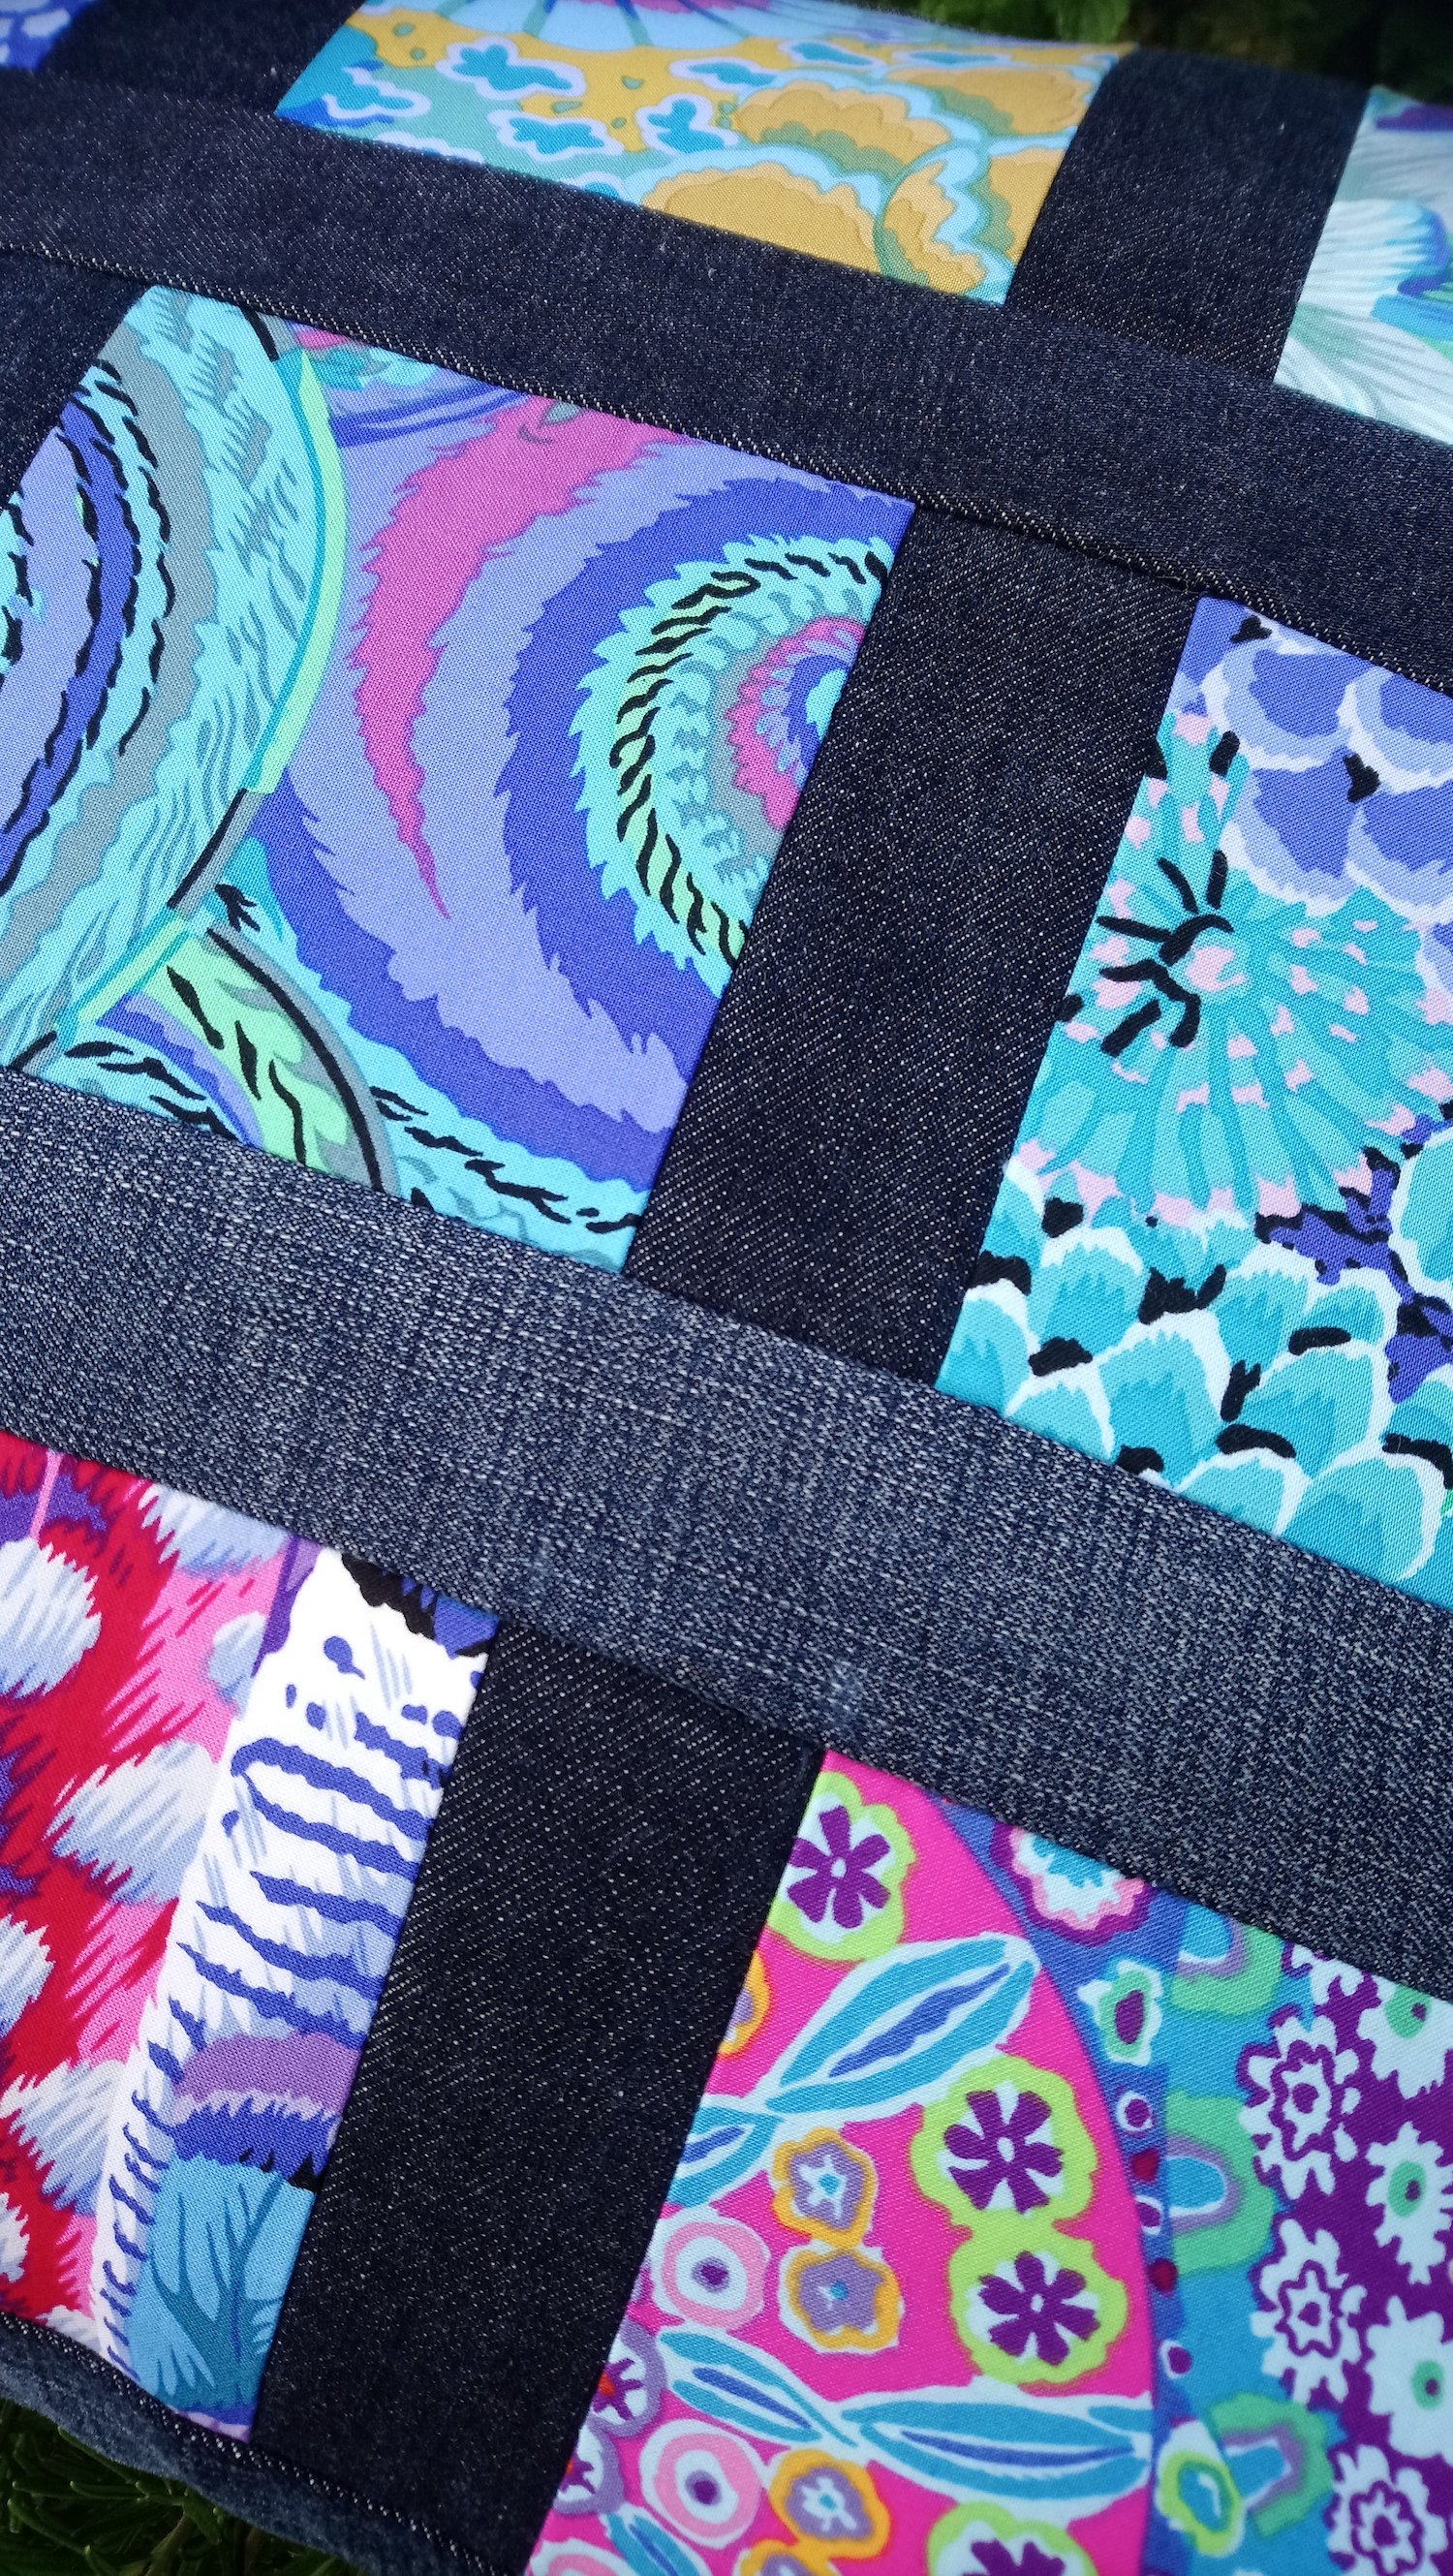
I love the combination of aged denim with floral print cotton. The prints from The Kaffe Fassett Collective are absolutely gorgeous and I enjoyed selecting squares from charm packs to make these cushion covers.
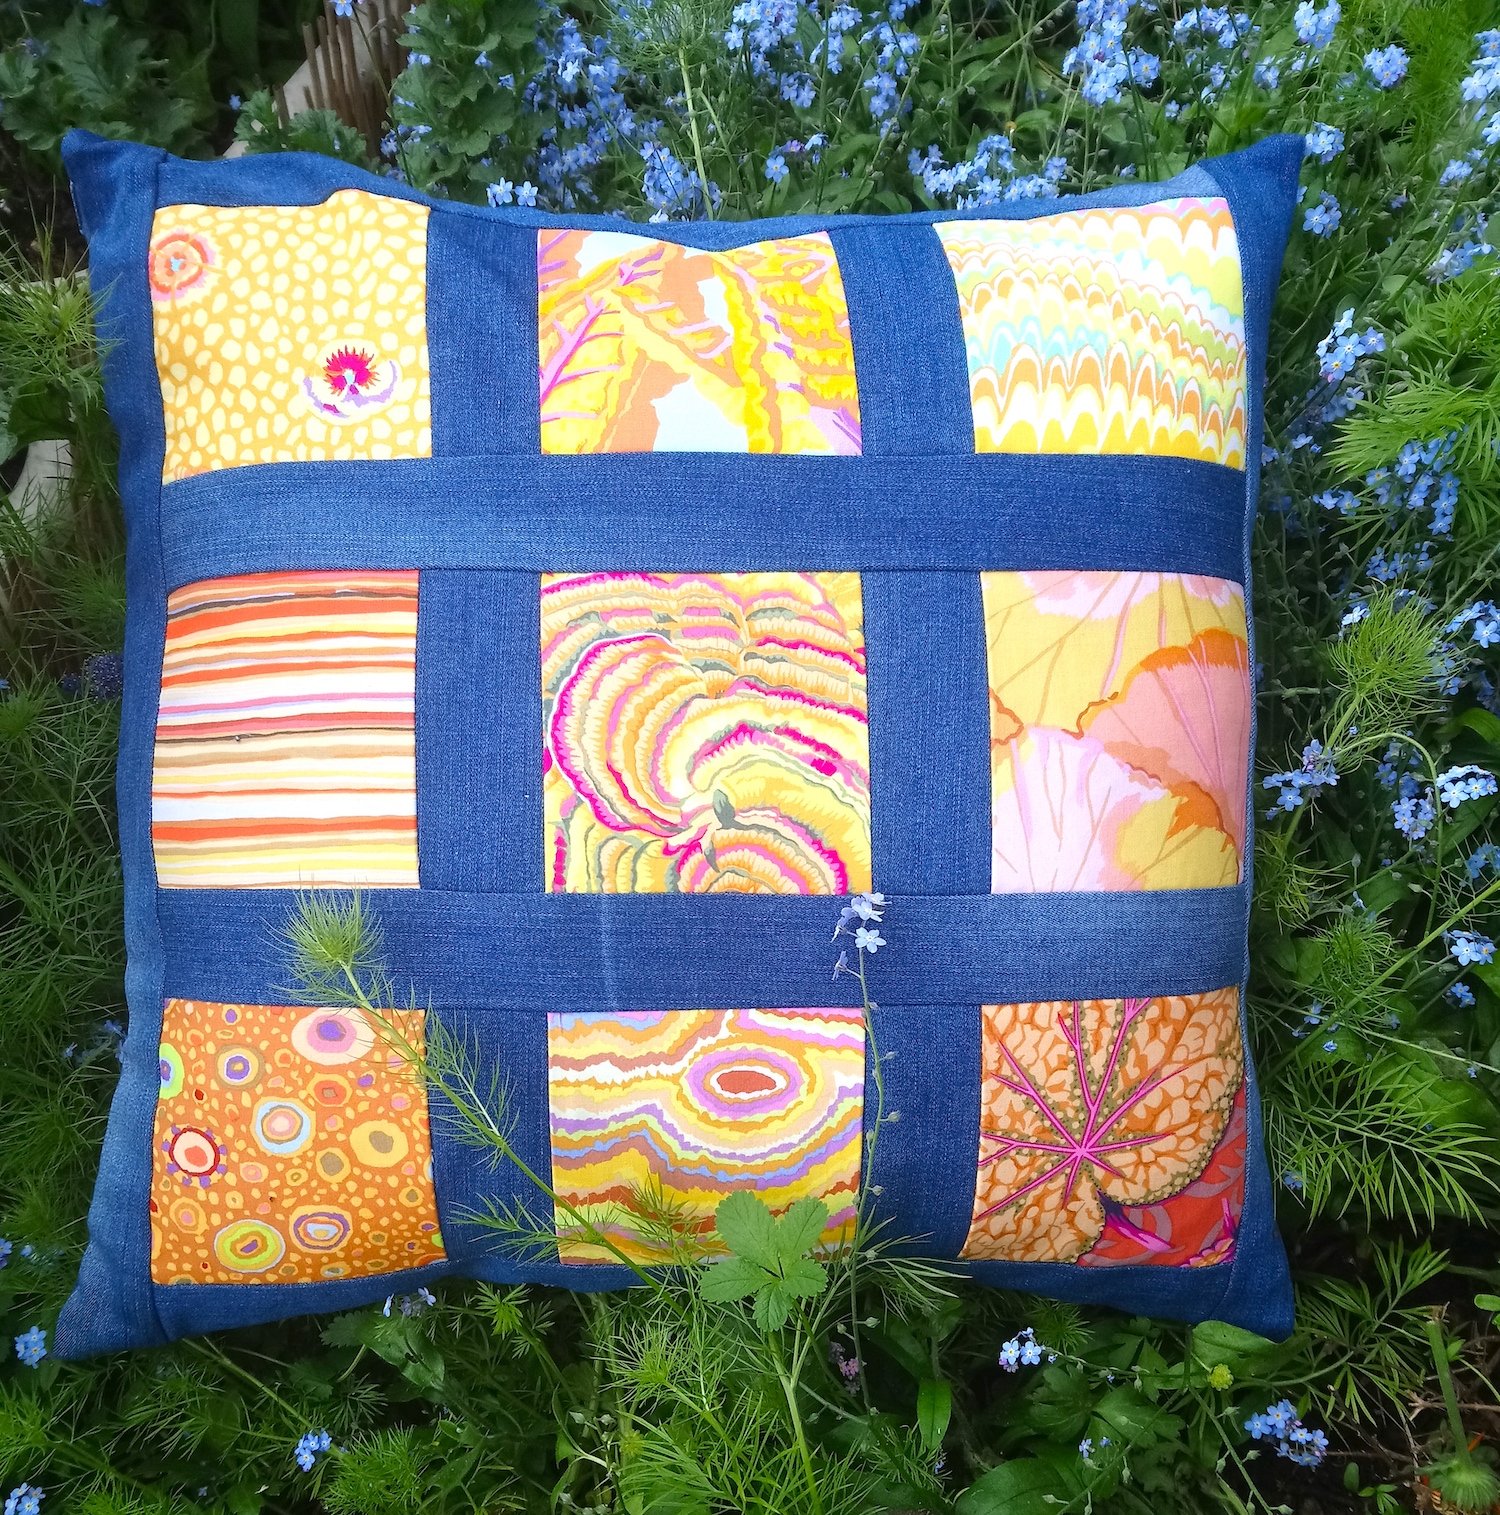
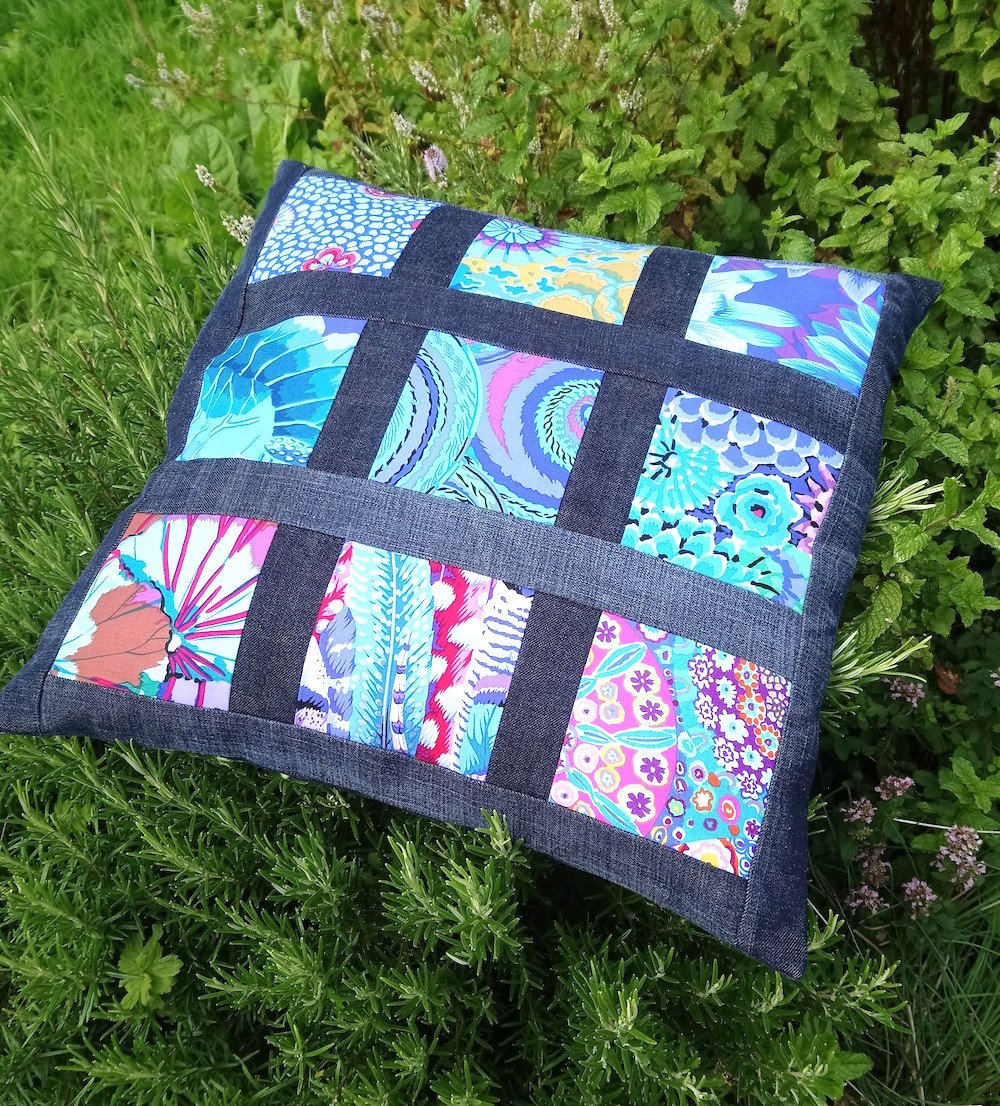
I started with the blues first, then made another which is mainly wonderfully hot pinks and reds. The most recent one is made up of yellows and oranges.
I wouldn't usually recommend combining different weights of fabric into the same patchwork project but sometimes it's fun to break the rules. Backing each piece of printed cotton with a piece of calico adds a little more weight to the square.
I've used jeans given to me by friends, the weight is really nice, it's lighter than denim used for, say, Levi 501s. If you haven't any old jeans suitable to cut into strips, then your local charity shop is sure to have some of the right weight.
The technique I used to make the gorgeous printed cotton squares a little heavier, was to machine stitch each one onto a 12.5cm square of calico. I really like the fact that, having done this, there's still a slight difference between the weight of the denim and the cotton print. The calico backing makes the patchwork feel a bit more sturdy too.
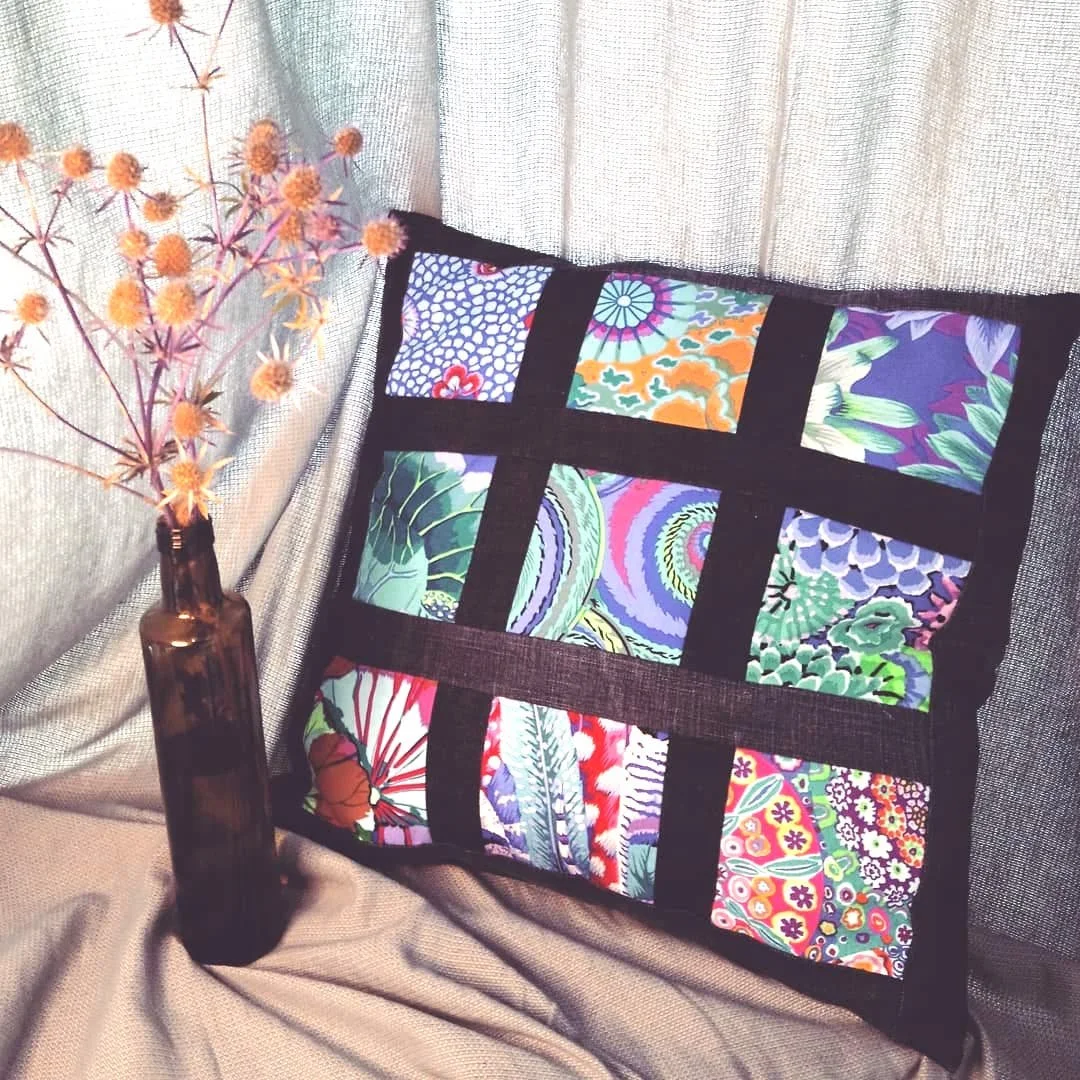
The finished cushion size is approximately 47cm square.
CUTTING GUIDE (METRIC)
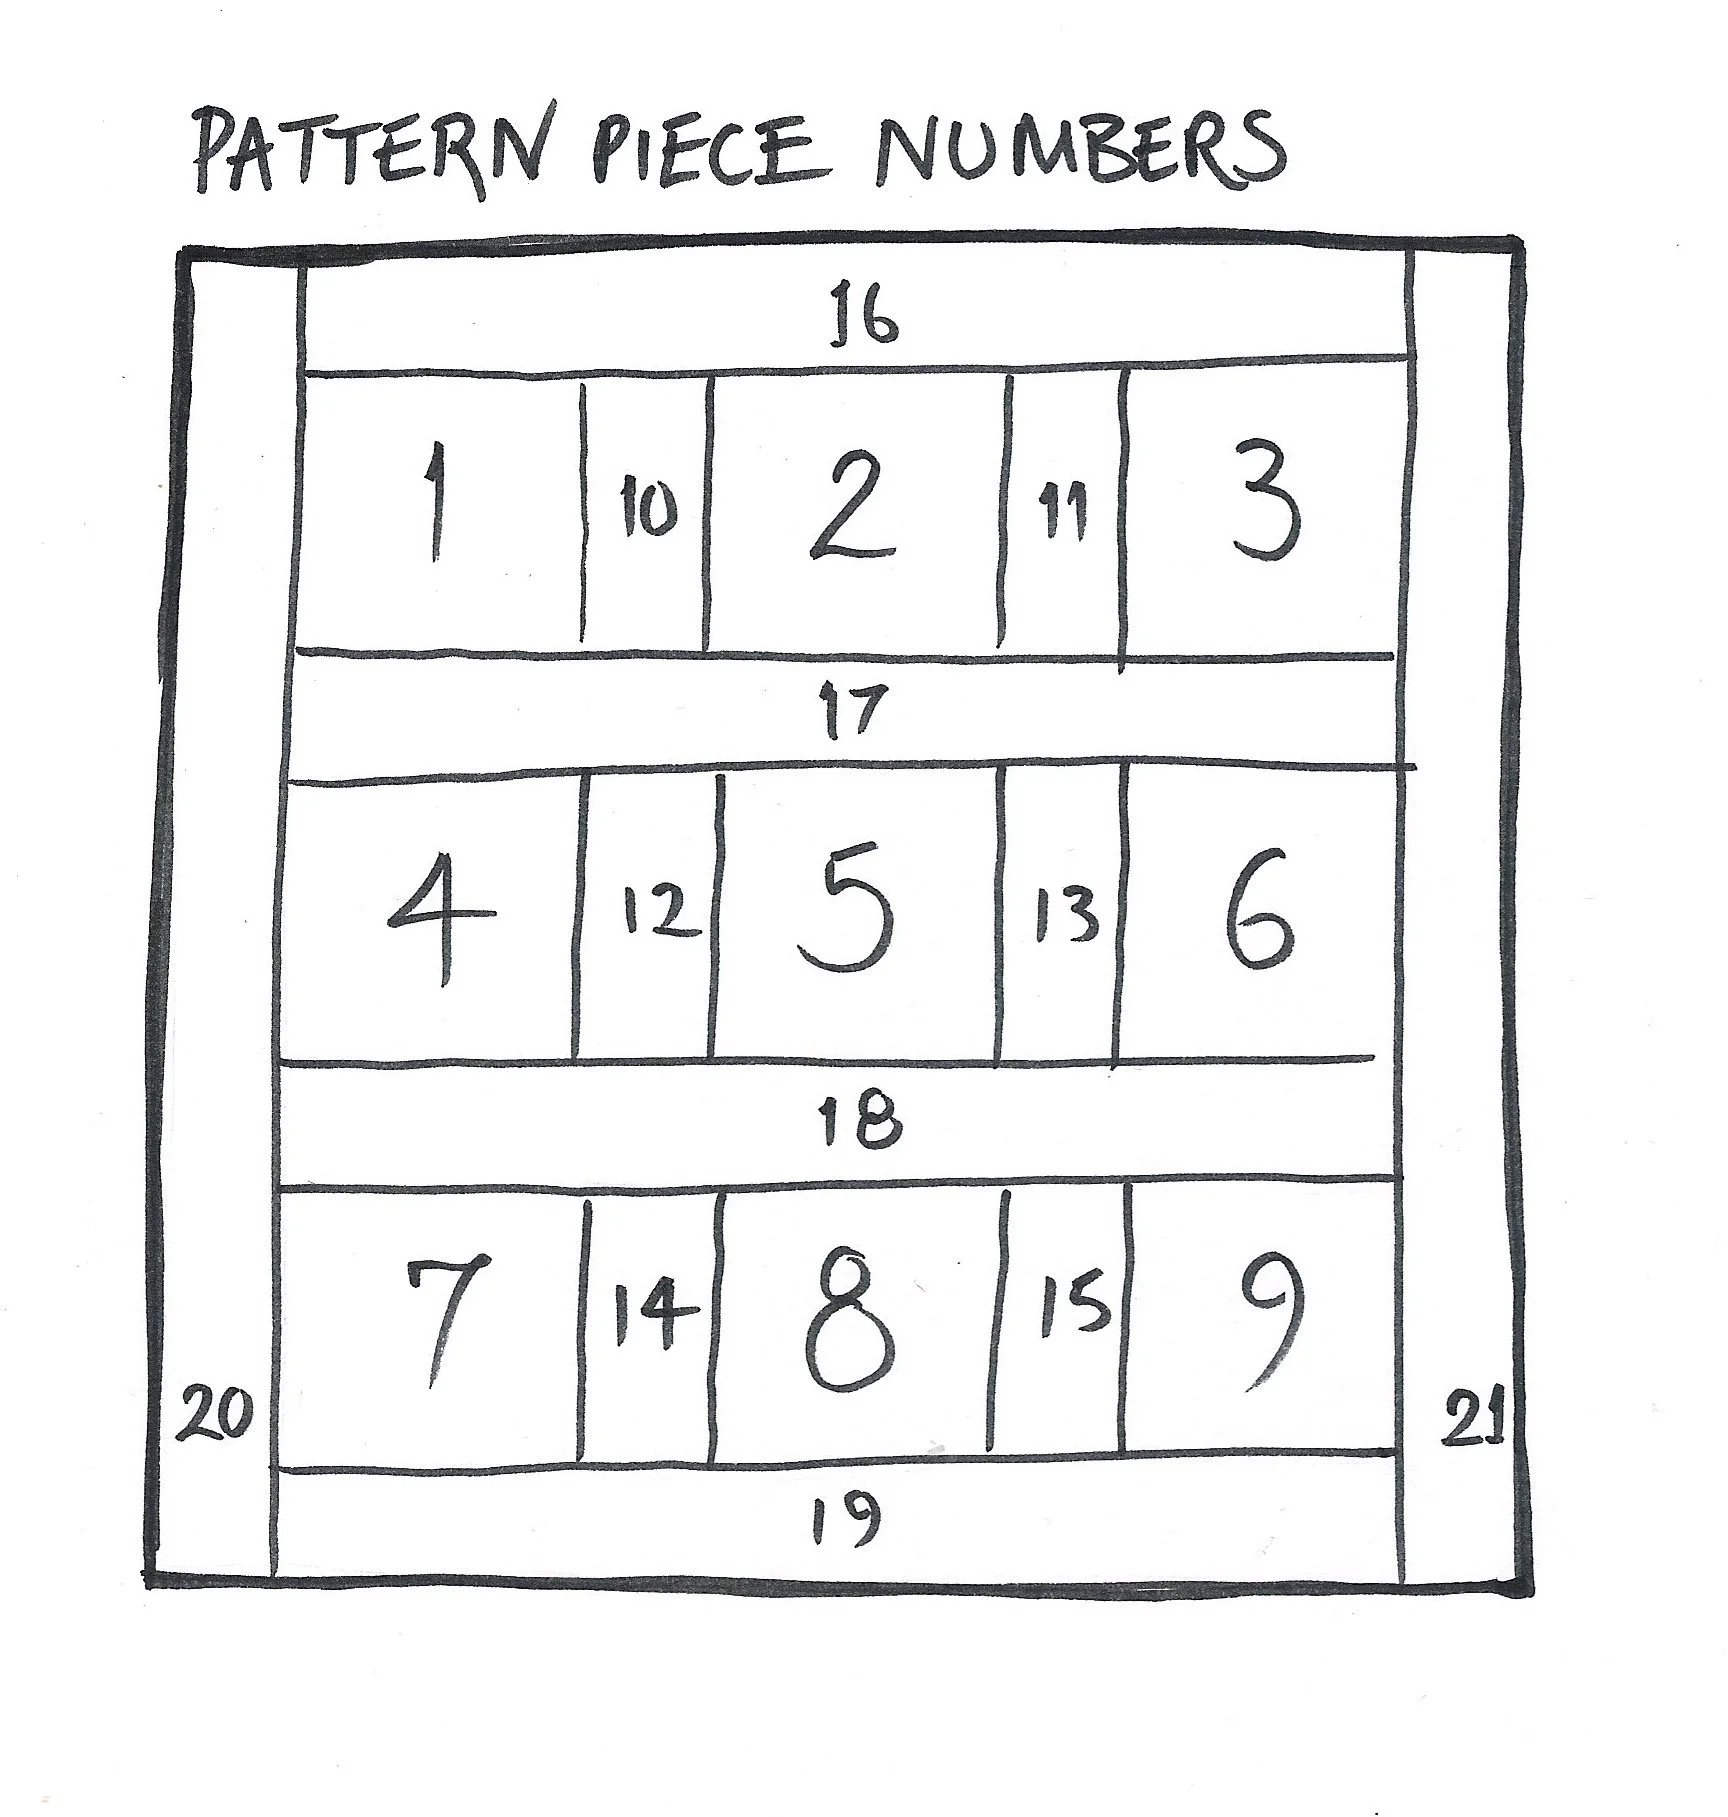
I numbered each piece and here's a list of the cut size of each one.
Pieces 1,2,3,4,5,6,7,8,9: 12.5cm x 12.5cm
Pieces 10,11,12,13,14,15: 5.8cm x 12.5cm
Pieces 16,17,18,19: 5.8cm x 41.1cm
Pieces 20 and 21: 5.8cm x 48.7cm
Envelope back: 2 pieces: 38cm x 48.7cm each
If you’re making the back pieces from repurposed jeans, I suggest you cut and sew pieces together to form each back piece and then trim down to the size mentioned above. I find the leg of a pair of jeans, cut along the inside leg seam and opened, up is usually large enough to make one back piece. This will depend on the size and width of the jeans.
If you'd like to see me demonstrate a similar cushion cover on Sewing Quarter, here's the link...
My demonstration on Sewing Quarter
The cushion cover I’m focusing on here was sewn right sides together with the two pieces that form an envelope back, therefore not needing to be bound around the edge, as I did with the one I demonstrated on Sewing Quarter.
It's also worth noting that fabric often lays in a way that tells you which way it wants to be pressed and this is definitely the case with the denim. I've included a photo of the back of the patchwork to show you which way I pressed the pieces.
SOME THOUGHTS ON CUTTING OUT
For thirty something years I’ve cut fabric using scissors and to be completely honest still do most of the time. I’m always keen to learn new things and to be open to changing my habits.
I marked all the pieces using my pattern cutters set square and a fine tipped marker on the reverse of the denim. I then cut out each piece with fabric scissors.
Alternatively, a cutting mat, set square sold for patchwork and a rotary cutter are a very efficient and accurate way of cutting.
PREPARATION AND CHOOSING POSITIONS OF PRINTED PIECES
Using the cutting guide above, cut all the pieces. Number the rectangular denim pieces on the back of each piece.
If you're using a fabric combination similar to mine then this is the stage to baste each floral printed lightweight cotton square to another square of calico weight cotton of the same size. Sew the calico and printed cotton together using stitch length 4, 5mm from the cut edge, all around the square.
Press each one and check for accuracy after attaching the calico. This may sound excessive but, trust me, a few minutes spent checking makes the sewing so much easier and the finished look, very neat.
Lay all the cut pieces, on flat surface (Fig. 1). I recommend moving the printed squares around until you're happy with the layout. Number the back of each one.
Take a picture, for your reference. This is very handy to refer back to in case the pieces become mixed up.
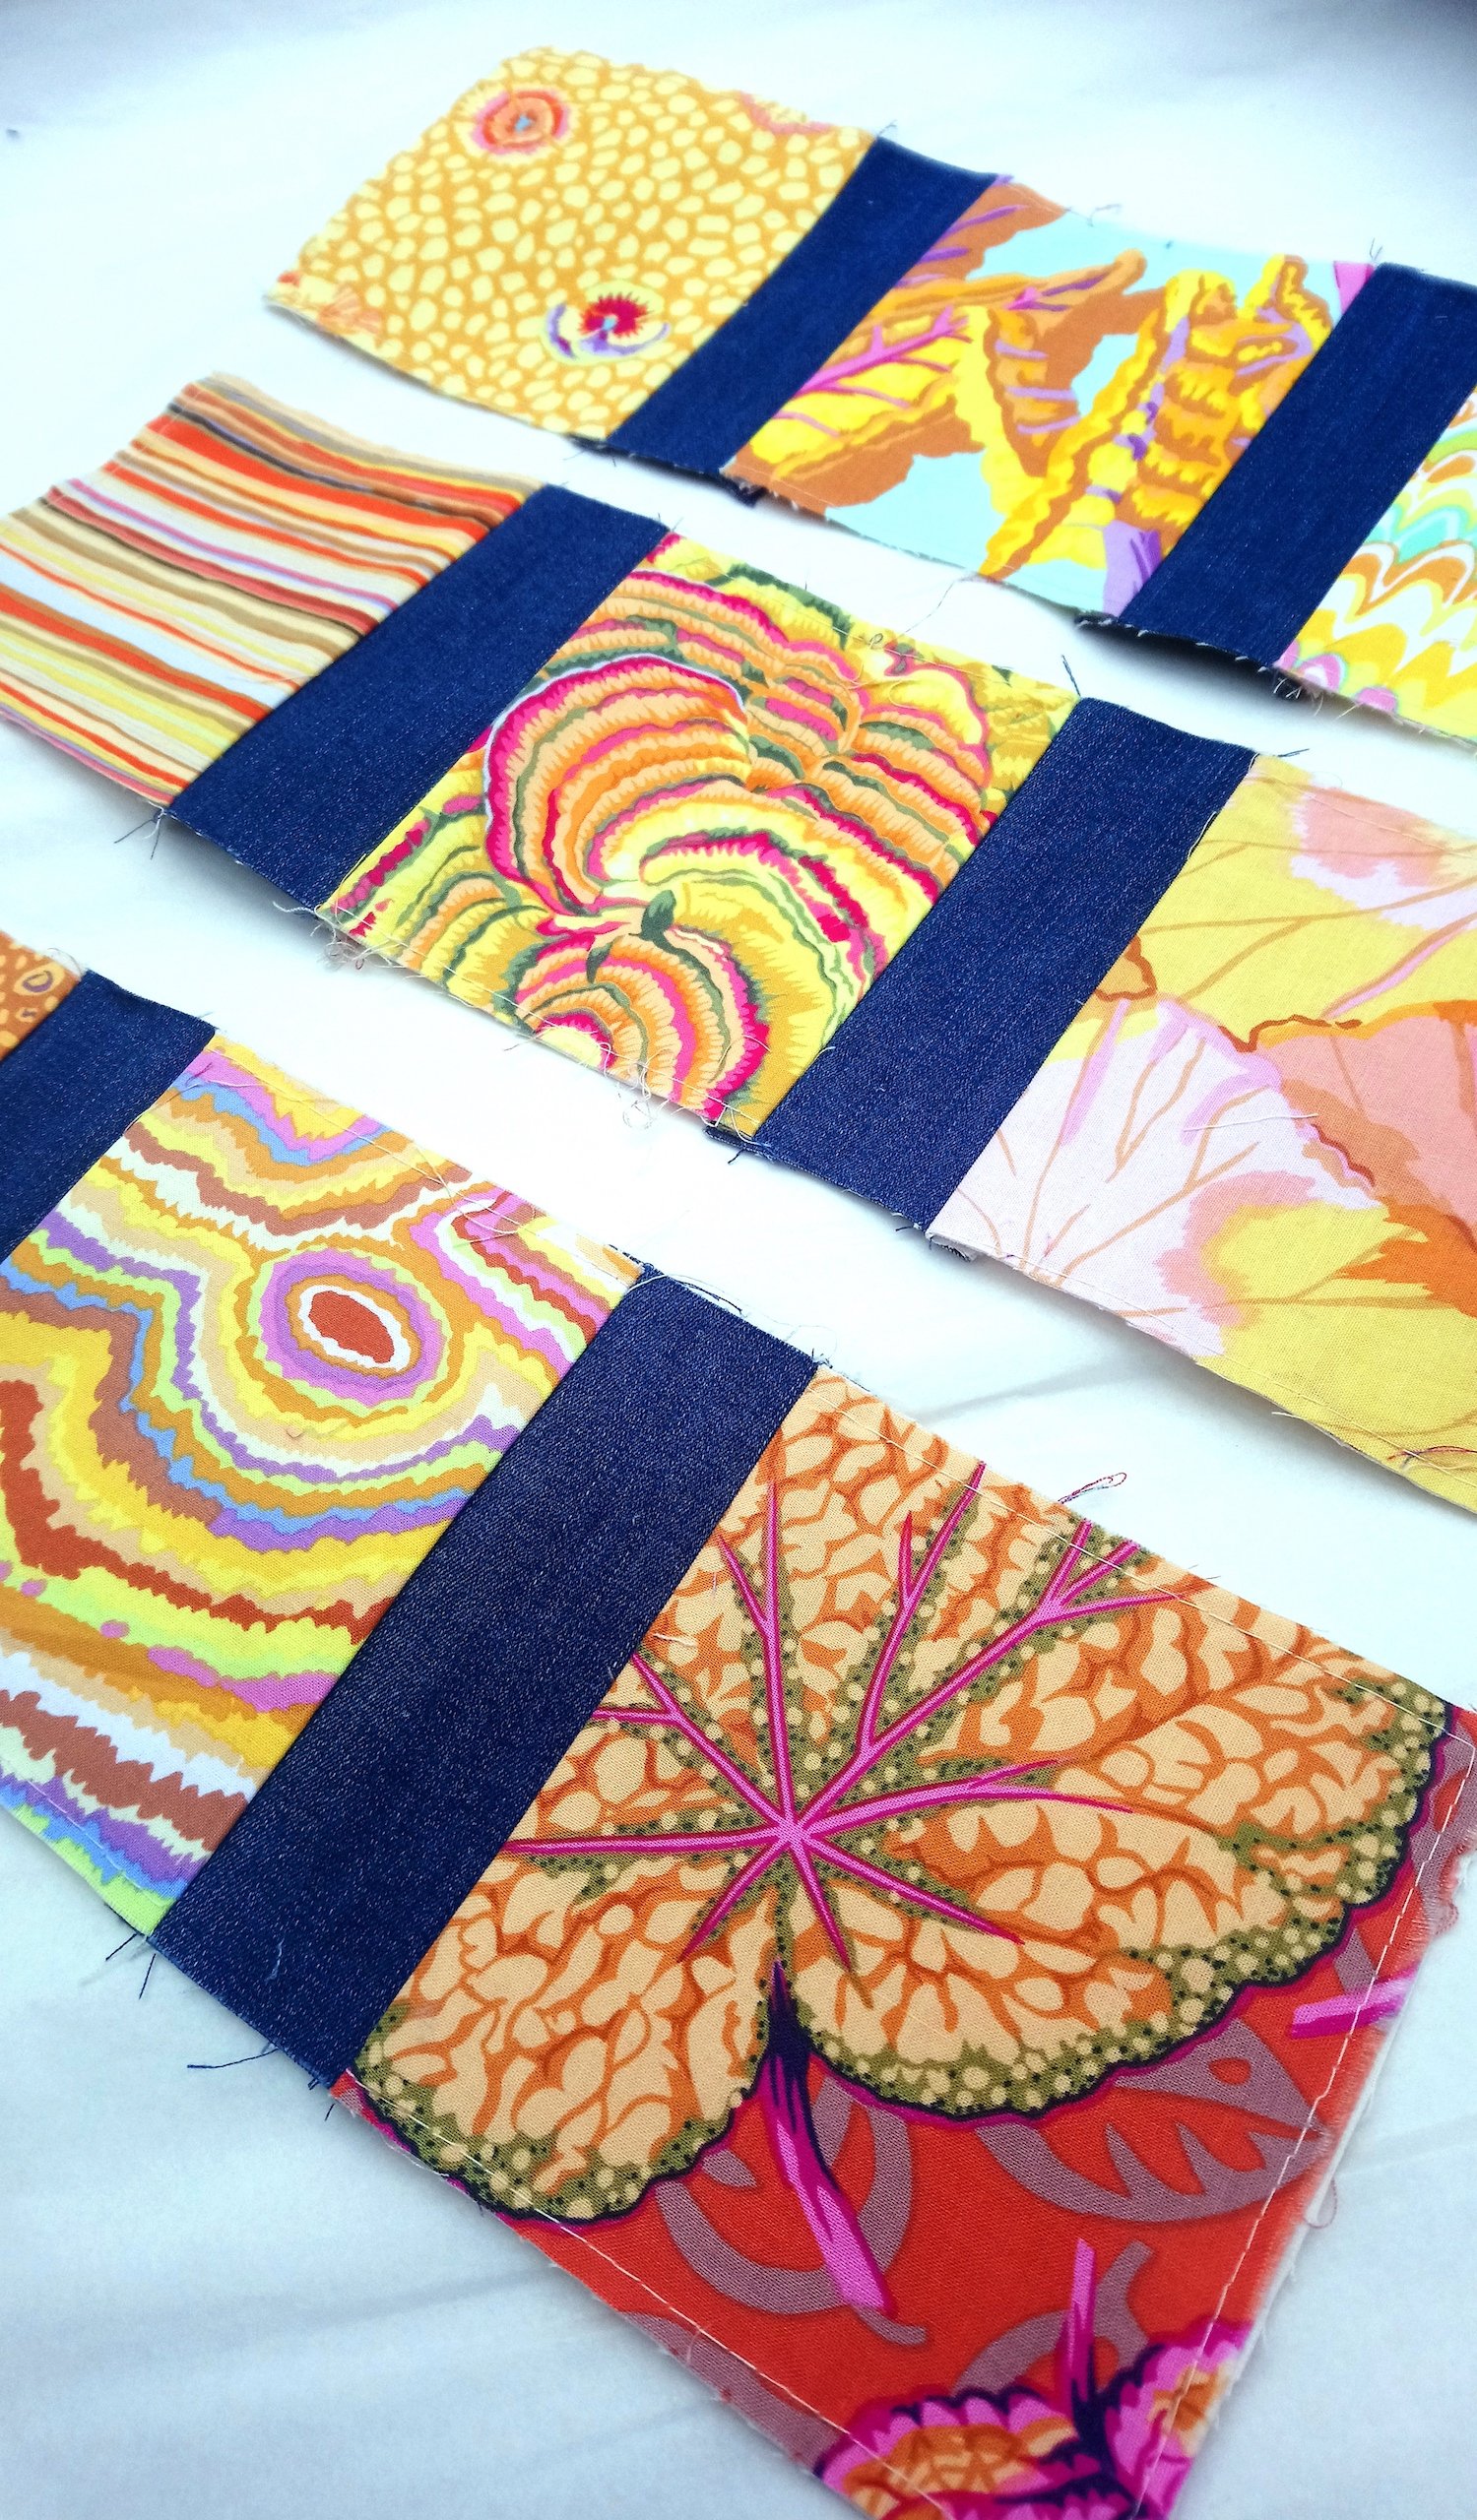
With right sides together, pin three squares to two small rectangles to create three separate rows. On the back, mark these with A, B and C and an arrow to show the direction. I find this helps as what can sometimes seem crystal clear at the cutting table is less clear at the sewing machine, especially if there are interruptions.

Fig. 1 Pieces laid out

Fig. 2 Rows laid out after being sewn to the denim pieces (numbers 10 to 15)
SEWING INSTRUCTIONS
Sew the pinned pieces together (mentioned above), taking a 1cm seam allowance. (Fig. 2)
Press.
With a 1cm seam, sew each row to pieces 16, 17, 18 and 19.
Press.
It's useful to mark the centre and put several pins in place so that the pieces are in alignment (see my demonstration for my thoughts on precision and the similar cushion cover I made, live). Machine sewing rows of patchwork
Tacking them all in place by hand is also an option, if you prefer, before machine sewing.
Sew pieces 20 and 21 to the edges, matching centres and pinning or tacking in place beforehand, if you need to.
Press.
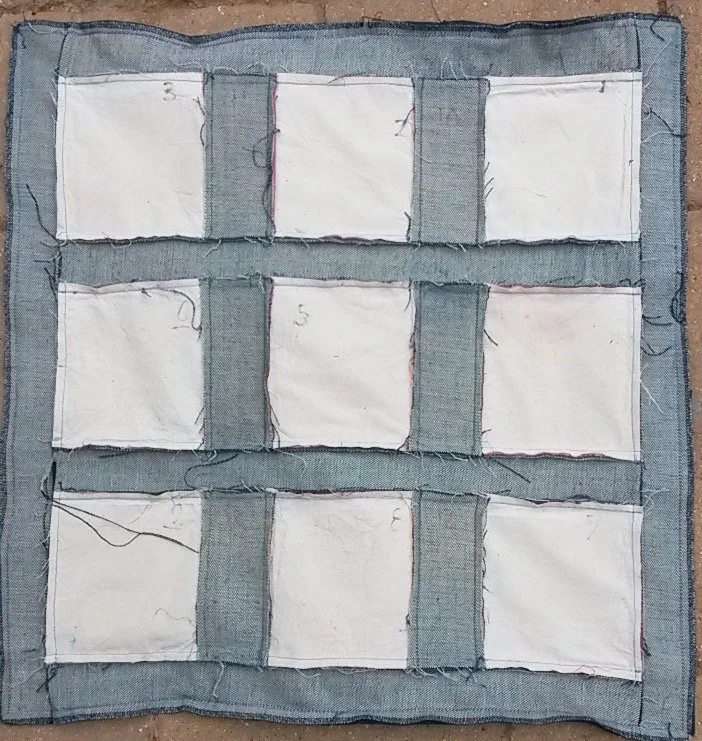
Reverse of patchwork, each piece numbered
To create the envelope back, cut two pieces, each measuring 48.7 cm x 38 cm. Overlock the long edge of each piece.
Fold and press back a 3cm hem to the wrong side. The reason for overlocking is to reduce the number of layers of denim when you come to sew the front to the envelope back. Some domestic sewing machines would struggle to sew over several layers of denim.
Sew the hem in place on both pieces.
Sew any decorative stitches at this stage while the back pieces are separate from the cushion front.
With right sides together place the back pieces on the front piece, matching the outer corners, with an overlap in the middle. Pin in place.
Sew all around the edge, 1cm from the cut edge, pivoting at the corners.
Bag out, pinching and folding the corners as you turn right sides out.
Fill with a 50cm cushion pad.
A cushion pad can be purchased or it's easy to make your own by cutting two pieces of fabric each measuring 52cm square. Sew all around the outer edge, 1cm from the edge, leaving a gap, about the width of your hand. Turn right sides out and fill with stuffing. Close the gap. The cushion pad is now ready to push inside your lovely new cushion cover. Make sure it's pushed right into the corners.
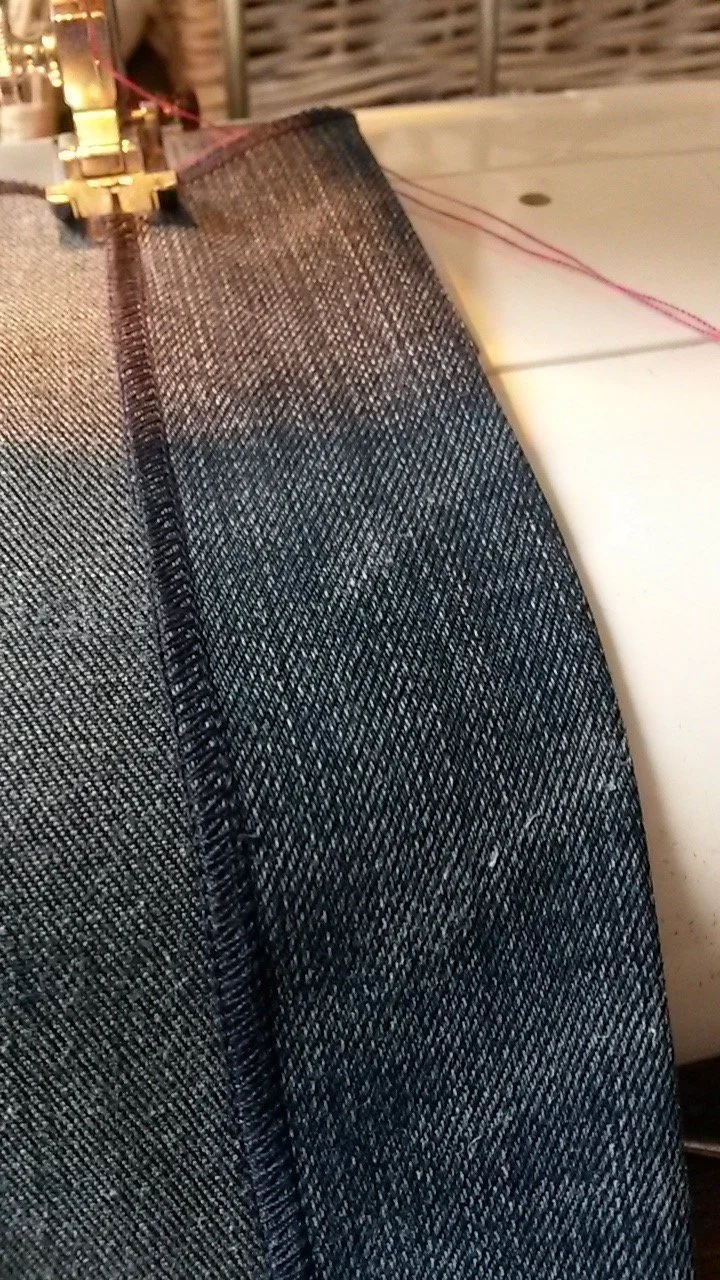
Hemming of envelope back

Back cushion cover, with a machine embroidered decorative stitch, using pink thread
I thoroughly enjoyed making this, and all the other ones I've made using these beautiful prints.
I purchased the charm packs from The Cotton Patch
Any questions? Fancy sharing a picture of one you've made? Drop me a line via either social media or my contact page.
Happy sewing!
Jennifer x
© 2022 Jennifer Mills The Sewing Skills Project